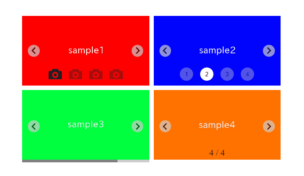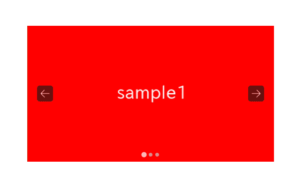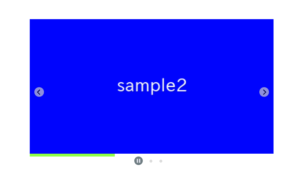
Swiper.jsで作成したスライダーのページネーション(ドット)のサイズや位置や色を変更したい時があると思います。
当記事ではその方法をデモを交えながら解説します。
通常のSwiper.jsでのスライダーの作成はご存じの前提で進めさせていただきますので、Swiper.jsを初めて使う方はこちらから先に参考いただければと思います。
Swiper.jsでスライダーを実装する
通常のSwiperスライダーを作成
わかりやすいように、最初に通常のSwiperスライダーを作成して、そこから変更を加えていきます。
<link rel="stylesheet" href="https://cdn.jsdelivr.net/npm/swiper@8/swiper-bundle.min.css">
<script src="https://cdn.jsdelivr.net/npm/swiper@8/swiper-bundle.min.js"></script>

<style>
    .sample-slider{
        width:70%;
    }
    .sample-slider img{
        width: 100%;
    }
</style>

<div class="swiper sample-slider">
    <div class="swiper-wrapper">
        <div class="swiper-slide"><img src="img/sample1.png"></div>
        <div class="swiper-slide"><img src="img/sample2.png"></div>
        <div class="swiper-slide"><img src="img/sample3.png"></div>
    </div>
    <div class="swiper-pagination"></div>
    <div class="swiper-button-prev"></div>
    <div class="swiper-button-next"></div>
</div>

<script>
    const swiper = new Swiper('.sample-slider', {
        loop: true,                         //ループ
        autoplay: {                         //自動再生
            delay: 2000,
        },
        pagination: {                       //ページネーション(ドット)
            el: '.swiper-pagination',
        },
        navigation: {                       //ナビゲーション(矢印)
            nextEl: ".swiper-button-next",
            prevEl: ".swiper-button-prev",
        },
    })
</script>
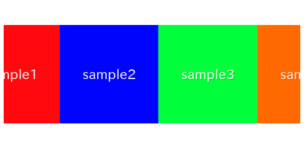
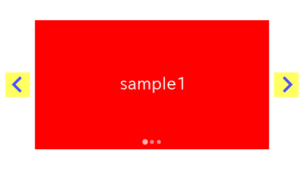
通常のSwiperスライダーができました。
ページネーションのサイズを変更
ページネーションのサイズはswiper-pagination-bulletクラスで指定することができます。
デフォルトが8pxになっているので、下記のように20pxなどを指定すると大きくなります。
.sample-slider .swiper-pagination-bullet{
    width: 20px;
    height: 20px;
}
ページネーションのサイズが変更できました。
ページネーションの間隔をあける
ページネーションの間隔はサイズと同じくswiper-pagination-bulletクラスで指定できます。
下記のようにmarginプロパティで間隔を変更することができます。
.sample-slider .swiper-pagination-bullet{
    width: 20px;
    height: 20px;
    margin: 0 15px!important;     /* 追加 */
}
ページネーションの間隔を変更することができました。
ページネーションの位置を変更する
ページネーションの位置はswiper-pagination-bulletsクラスで変更できます。
変更方法は『どこに配置したいか』で変わってくるので、配置場所別に説明します。
少し上に動かしたい場合
bottomプロパティでページネーションを上に動かすことができます。
デフォルトは10pxとなっているので、下記のように30pxなどと指定すると少し上に動きます。
.sample-slider .swiper-pagination-bullets{
    bottom: 30px;
}
一番上に配置したい場合
bottomプロパティを初期化してtopプロパティを10pxなどと指定すると、ページネーションを一番上に配置することができます。
.sample-slider .swiper-pagination-bullets{
    bottom: initial;
    top: 10px;
}
少し下に動かしたい場合
bottomプロパティの値を小さくすることでページネーションを下に動かすことができます。
.sample-slider .swiper-pagination-bullets{
    bottom: -15px;
}
枠の下に配置したい場合
上記のようにbottomプロパティでの指定では、はみ出した部分が表示されません。
ページネーションを枠の下に配置したい場合は、下記のように記述します。
.sample-slider{
    --add-bottom: 50px;
    padding-bottom: var(--add-bottom);
}
.sample-slider [class^="swiper-button-"]{
    top: calc(50% - var(--add-bottom) / 2);
}
一番左に配置したい場合
swiper-pagination-bulletsのwidthプロパティを初期化することで、ページネーションを一番左に配置することができます。
.sample-slider .swiper-pagination-bullets{
    width: initial;
}
一番右に配置したい場合
widthプロパティとleftプロパティを初期化して、rightプロパティを0にすることでページネーションを一番右に配置することができます。
.sample-slider .swiper-pagination-bullets{
    width: initial;
    left: initial;
    right: 0;
}
ページネーションの色を変更する
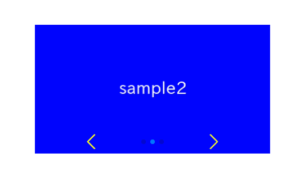
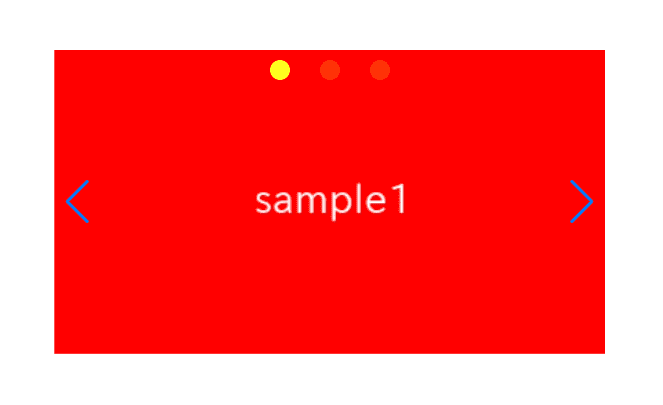
swiper-pagination-bulletクラスにbackground-colorを設定することでページネーションの色を変更することができます。
.sample-slider .swiper-pagination-bullet{
    background-color: yellow;
}
以上、Swiperスライダーのページネーションのサイズや位置や色を変更する方法でした。
矢印のサイズや位置や色を変更したい場合は下記が参考になるかと思われます。
Swiperスライダーの矢印のサイズや位置や色を変更する
また、ページネーションを任意の画像で置き換えたい場合は下記の記事が参考になるかと思われます。
【Swiper】ページネーション(ドット)を任意の画像でカスタマイズする


