This article describes how to implement a function that allows users to select files by drag and drop and preview the images using Javascript.
We aim to achieve this without using jQuery or libraries, using plain JavaScript.
Table of Contents
Drag & Drop with Image Preview
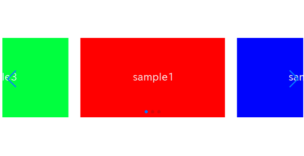
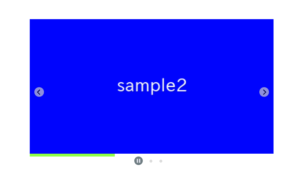
Here is the complete image.
We aim to implement a function that allows the user to select a file by drag & drop and preview the image as shown below.
Create Drag & Drop areas with HTML and CSS
Let’s start by creating the looks of the Drag & Drop area.
<div class="drop-area">
    <input type="file">
    <div class="preview-area"></div>
</div>
.drop-area {
border: 1px dashed;
border-radius: 10px;
display: flex;
flex-direction: column;
align-items: center;
padding: 50px;
}
.drop-area input[type="file"] {
padding: 15px;
}
.drop-area input[type="file"]::file-selector-button {
background: gray;
color: white;
padding: 8px 10px;
border-radius: 4px;
width: 100%;
display: block;
border: none;
}
.drop-area::before {
content: "Drag & Drop File Here \A OR";
white-space: pre;
text-align: center;
font-size: 20px;
line-height: 1.6;
}
.drop-area .preview-area img {
width: 100%;
}
The appearance is now in place.
※At this point, file selection via drag and drop is not yet possible.
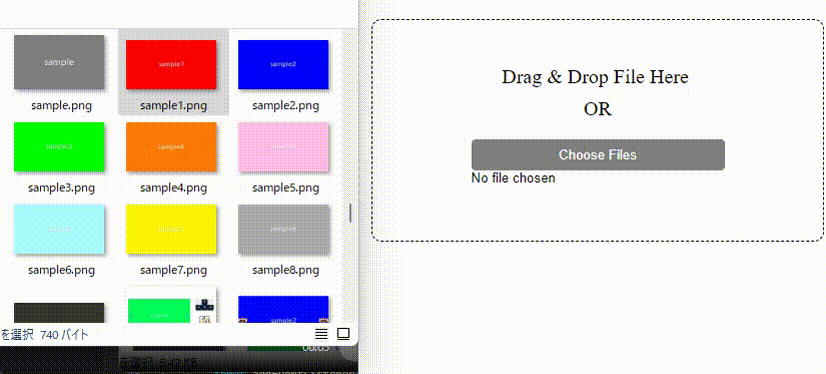
Make it possible to select files via Drag & Drop
The Javascript for selecting files via drag and drop is shown below.
It could be simpler for just allowing file selection by drag& drop, but it’s a bit more complicated due to one issue (explained in detail below the code).
document.querySelectorAll('.drop-area').forEach((el)=>{
    const input = el.querySelector('input')
    el.addEventListener('drop', (e)=>{                                          // When files are dropped
        if(e.dataTransfer.files.length == 1 || input.hasAttribute('multiple')){ // If the file is one, or input element has the multiple attribute
            input.files = e.dataTransfer.files                                  // Retrieve and embed the files
            input.dispatchEvent(new Event('change'))                            // Force the change event to trigger
        }else{
            alert('Please select only one file')
        }
        e.preventDefault()                                                      // Prevent opening in a separate tab when dropped
    })
el.addEventListener('dragover', (e)=>e.preventDefault()) // Prevent opening in a separate tab when droppedTo avoid the situation where ‘drag & drop allows multiple file selection, but regular file selection only allows one’, we use an “if” statement on line 4 to enable multiple file dropping only when the “multiple” attribute is present.
You should now be able to select files via drag and drop, so please give it a try.
※Preview is not yet displayed.
Preview the image when the file is selected
The next step is to implement a function to preview images.
This is a simple process of generating an img tags from the selected files and embedding it in the preview area.
document.querySelectorAll('.drop-area').forEach((el)=>{
    const input = el.querySelector('input')
    /************* ↓ added ↓ **************/
    input.addEventListener('change', (e)=>{                         // When files are selected
        const imgs = Array.from(e.target.files).map((file,i)=>      // Map processing for the selected files
            `<img src="${URL.createObjectURL(file)}">`              // Generate img tags from files
        )
        el.querySelector('.preview-area').innerHTML = imgs.join('') // Embed imgtags in preview area
    })
    /************* ↑ added ↑ **************/
    el.addEventListener('drop', (e)=>{
        if(e.dataTransfer.files.length == 1 || input.hasAttribute('multiple')){
            input.files = e.dataTransfer.files
            input.dispatchEvent(new Event('change'))
        }else{
            alert('Please select only one file)
        }
        e.preventDefault()
    })
    el.addEventListener('dragover', (e)=>e.preventDefault())
})
Basic drag & drop & preview functionality is now complete.
Please try it out and see if you can preview the images by drag & drop.
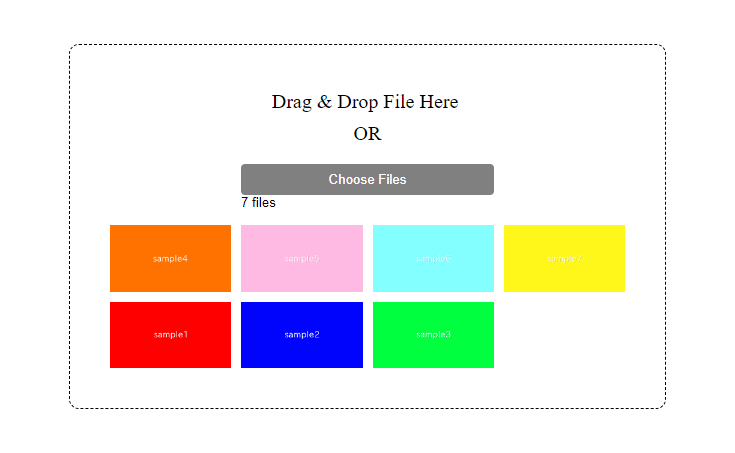
In the case to allow multiple file selection
By adding the multiple attribute to input[type=”file”], users can select multiple files.
<div class="drop-area">
    <input type="file" multiple>    <!-- modified -->
    <div class="preview-area"></div>
</div>
Adding the following CSS may be helpful, as the images are previewed side by side only when the multiple attribute is given.
In this case, the images are displayed in four columns.
.drop-area input[multiple] + .preview-area {
    gap: 10px;
    display: grid;
    grid-template-columns: repeat(4, 1fr);
}
The full text of source code
In the end, we put the full text of source code.
<style>
    .drop-area {
        border: 1px dashed;
        border-radius: 10px;
        display: flex;
        flex-direction: column;
        align-items: center;
        padding: 40px;
    }
    .drop-area input[type="file"] {
        padding: 15px;
    }
    .drop-area input[type="file"]::file-selector-button {
        background: gray;
        color: white;
        padding: 8px 10px;
        border-radius: 4px;
        width: 100%;
        display: block;
        border: none;
    }
    .drop-area::before {
        content: "Drag & Drop File Here \A OR";
        white-space: pre;
        text-align: center;
        font-size: 20px;
        line-height: 1.6;
    }
    .drop-area input[multiple] + .preview-area {
        gap: 10px;
        display: grid;
        grid-template-columns: repeat(4, 1fr);
    }
    .drop-area .preview-area img {
        width: 100%;
    }
</style>

<div class="drop-area">
    <input type="file" multiple>        <!-- Remove the "multiple" attibute if you want to allow only single file selection -->
    <div class="preview-area"></div>
</div>

<script>
    document.querySelectorAll('.drop-area').forEach((el)=>{
        const input = el.querySelector('input')
        input.addEventListener('change', (e)=>{                         // When files are selected
            const imgs = Array.from(e.target.files).map((file,i)=>      // Map processing for the selected files
                `<img src="${URL.createObjectURL(file)}">`              // Generate img tags from files
            )
            el.querySelector('.preview-area').innerHTML = imgs.join('') // Embed imgtags in preview area
        })
        el.addEventListener('drop', (e)=>{                                          // When files are dropped
            if(e.dataTransfer.files.length == 1 || input.hasAttribute('multiple')){ // If the file is one, or input element has the multiple attribute
                input.files = e.dataTransfer.files                                  // Retrieve and embed the files
                input.dispatchEvent(new Event('change'))                            // Force the change event to trigger
            }else{
                alert('Please select only one file')
            }
            e.preventDefault()                                                      // Prevent opening in a separate tab when dropped
        })
        el.addEventListener('dragover', (e)=>e.preventDefault())                    // Prevent opening in a separate tab when dropped
    })
</script>
That is all, it was about how to create Drag & Drop & Preview functionality.
If you do not need a “preview” function, you can create a drag & drop function using only HTML and CSS.
Drag and Drop File using only HTML and CSS