The Autoplay option in Splide.js makes it easy to not only make a slider autoplay, but also to display a progress bar, show play/stop button, and make only certain slides appear longer.
This article will provide a detailed explanation of the Autoplay option in Splide.js.
We will proceed on the assumption that you know how to create a regular slider in Splide.js, so if you are new to Splide.js, please refer here first.
[Splide] How to create a simple slider with Splide.js
Table of Contents
Create a regular Splide slider
For clarity, let’s start by creating a regular Splide slider and then proceed to make modifications from there.
<link href="https://cdn.jsdelivr.net/npm/@splidejs/splide@4/dist/css/splide.min.css" rel="stylesheet">
<script src="https://cdn.jsdelivr.net/npm/@splidejs/splide@4/dist/js/splide.min.js"></script>

<style>
    .sample-slider {
        width: 70%;
        margin: 0 auto;
    }
    .sample-slider img {
        width: 100%;
    }
</style>

<div class="splide sample-slider">
    <div class="splide__track">
          <ul class="splide__list">
              <li class="splide__slide"><img src="./img/sample1.png"></li>
              <li class="splide__slide"><img src="./img/sample2.png"></li>
              <li class="splide__slide"><img src="./img/sample3.png"></li>
          </ul>
    </div>
</div>

<script>
    new Splide('.sample-slider', {
        type : 'loop',
    }).mount()
</script>
Now we can see the regular Splide slider.


Make the slider autoplay
By adding autoplay: true, you can enable automatic playback of the slider.
You can specify the autoplay interval using the interval option (it is set to 5000, which equals 5 seconds if not specified).
new Splide('.sample-slider', {
    type : 'loop',
    autoplay: true,         // added (autoplay)
    interval: 3000,         // added (autoplay interval)
}).mount()
The slider is now set to autoplay.
The slides will automatically switch every 3 seconds.
Display progress bar
By displaying the progress bar, users can track the progress of the autoplay.
To display the progress bar, simply add the following 3 lines of HTML.
<div class="splide sample-slider">
    <div class="splide__track">
          <ul class="splide__list">
              <li class="splide__slide"><img src="./img/sample1.png"></li>
              <li class="splide__slide"><img src="./img/sample2.png"></li>
              <li class="splide__slide"><img src="./img/sample3.png"></li>
          </ul>
    </div>
    <!-------- ↓ added ↓ --------->
    <div class="splide__progress">
        <div class="splide__progress__bar"></div>
    </div>
    <!-------- ↑ added ↑ --------->
</div>
Let’s set the color and height for clarity.
.sample-slider .splide__progress__bar {
    height: 6px;
    background: greenyellow;
}
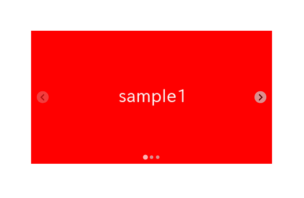
The progress bar has been displayed.
Display play/pause toggle button
Play/pause button seem to be one of the requirements recommended by W3C for improving accessibility.
In Splide.js, you can easily display the play/pause button with just HTML additions.
<div class="splide sample-slider">
    <div class="splide__track">
          <ul class="splide__list">
              <li class="splide__slide"><img src="./img/sample1.png"></li>
              <li class="splide__slide"><img src="./img/sample2.png"></li>
              <li class="splide__slide"><img src="./img/sample3.png"></li>
          </ul>
    </div>
    <div class="splide__progress">
        <div class="splide__progress__bar"></div>
    </div>
    <!-------- ↓ added ↓ ---------->
    <button class="splide__toggle">
        <span class="splide__toggle__play">Play</span>
        <span class="splide__toggle__pause">Pause</span>
    </button>
    <!-------- ↑ added ↑ ---------->
</div>
You should be able to toggle play/pause using the button at the bottom left of the progress bar, so try it.
Make the play/pause toggle button stylish
We were able to easily display the play/pause toggle button, but the appearance is not so good as it is.
Let’s try to make it a bit more stylish.
Instead of the HTML added earlier, add the following.
<div class="splide__controls">
    <button class="splide__toggle">
        <svg class="splide__toggle__play" viewBox="0 0 24 24"><path d="m22 12-20 11v-22l10 5.5z"></path></svg>
        <svg class="splide__toggle__pause" viewBox="0 0 24 24"><path d="m2 1v22h7v-22zm13 0v22h7v-22z"></path></svg>
    </button>
    <div class="splide__pagination"></div>
</div>
Let’s adjust the appearance with CSS.
.sample-slider .splide__controls {
    display: flex;
    justify-content: center;
}
.sample-slider .splide__toggle {
    display: inline-flex!important;
    align-items: center;
    justify-content: center;
    background: #737e80;
    border-radius: 50%;
    width: 1.5rem;
    height: 1.5rem;
    transition: background-color .2s ease;
    border: none;
}
.sample-slider .splide__toggle:hover {
    background: greenyellow;
}
.sample-slider .splide__toggle svg {
    fill: #e5eeee;
}
.sample-slider .splide__pagination {
    position: static;
}
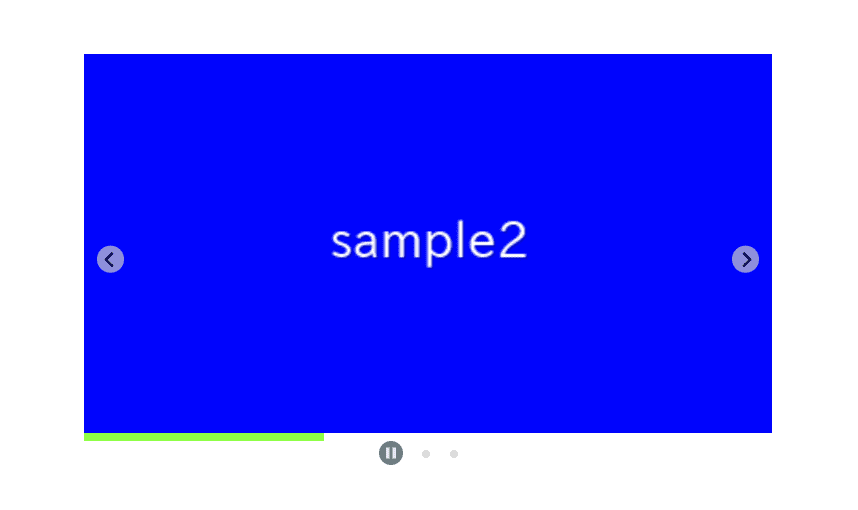
The play/pause toggle button has been stylish.
Extend the display time for specific slides only
In Splide.js, you can override the autoplay interval for specific slides by setting a numerical value to the data-splide-interval attribute.
This allows you to easily achieve tasks like “Displaying the Nth slide for a longer duration”.
<li class="splide__slide"><img src="./img/sample1.png"></li>
<li class="splide__slide" data-splide-interval="6000"><img src="./img/sample2.png"></li>
Now only the second slide is displayed longer than the other slides.
Not stop autoplay on hover
Splide sliders pause autoplay when hovered.
To prevent autoplay from pausing on hover, add pauseOnHover: false.
new Splide('.sample-slider', {
    type : 'loop',
    autoplay: true,
    interval: 3000,
    pauseOnHover: false,    // added
}).mount()
Autoplay no longer stops when hovering.
Not reset the elapsed time when autoplay resumes
In Splide slider, the elapsed time is reset when autoplay resumes.
If you don’t want to reset the elapsed time when autoplay resumes, add resetProgress: false.
new Splide('.sample-slider', {
    type : 'loop',
    autoplay: true,
    interval: 3000,
    pauseOnHover: false,
    resetProgress: false,   // added
}).mount()
Elapsed time no longer resets when autoplay is resumed.
That is all, it was about how to make the most of the Autoplay option in Splide.js!