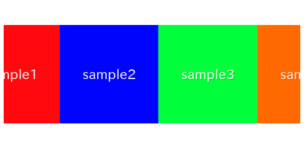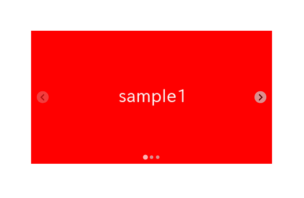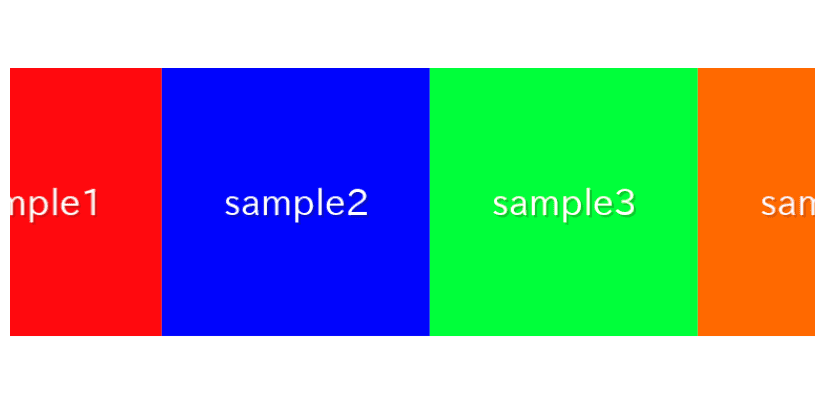
In this article, we are going to describe how to make infinite loop slider which continue to flow automatically using Splide.js.
We will proceed on the assumption that you know how to create a regular slider in Splide.js, so if you are new to Splide.js, please refer here first.
[Splide] How to create a simple slider with Splide.js
Table of Contents
①Make a slider without arrows and pagination
Since this is a slider that will continue to flow automatically, let’s hide the arrows and pagination.
Also, do not forget to enable looping.
<link href="https://cdn.jsdelivr.net/npm/@splidejs/splide@4/dist/css/splide.min.css" rel="stylesheet">
<script src="https://cdn.jsdelivr.net/npm/@splidejs/splide@4/dist/js/splide.min.js"></script>

<style>
    .sample-slider {
        width: 70%;
        margin: 0 auto;
    }
    .sample-slider img {
        width: 100%;
    }
</style>

<div class="splide sample-slider">
    <div class="splide__track">
          <ul class="splide__list">
              <li class="splide__slide"><img src="./img/sample1.png"></li>
              <li class="splide__slide"><img src="./img/sample2.png"></li>
              <li class="splide__slide"><img src="./img/sample3.png"></li>
          </ul>
    </div>
</div>

<script>
    new Splide('.sample-slider', {
        type : 'loop',
        arrows: false,
        pagination: false,
    }).mount()
</script>
A slider without arrows and pagination has been created.
②Load Autoscroll Extension
If you want to smoothly autoplay the slider, in Splide.js, you use an extension called Auto Scroll instead of the autoplay option. You’ll need to load the library additionally, but you can easily do so via CDN as shown below.
<script src="https://cdn.jsdelivr.net/npm/@splidejs/splide-extension-auto-scroll@0.5.3/dist/js/splide-extension-auto-scroll.min.js"></script>
In the above, we are using the latest version as of March 2024.
You can always check the latest version of the Auto Scroll Extension on the following website.
@splidejs/splide-extension-auto-scroll CDN by jsDelivr – A CDN for npm and GitHub
③Enable auto-scrolling
Auto-scrolling will be enabled by passing window.slide.Extensions to the mount method as shown below.
new Splide('.sample-slider', {
    type : 'loop',
    arrows: false,
    pagination: false,
}).mount(window.splide.Extensions)  // modified
Auto-scrolling has been enabled.
The slider should auto-play smoothly.
④Specify auto-scrolling speed
You can specify the speed of auto-scrolling in the autoScroll option.
The default is speed: 1, so setting a higher number will make it faster, as shown below.
new Splide('.sample-slider', {
    type : 'loop',
    arrows: false,
    pagination: false,
    autoScroll: {   // added
        speed: 2,   // added
    },              // added
}).mount(window.splide.Extensions)
Auto-scrolling speed has been increased.
⑤Prevent auto-scrolling from pausing on hover
By default, auto scrolling pauses when the cursor is hovered over a slide.
If you want to disable this, add pauseOnHover: false in the autoScroll option.
Note that it won’t work unless specified within the autoScroll option.
new Splide('.sample-slider', {
    type : 'loop',
    arrows: false,
    pagination: false,
    autoScroll: {
        speed: 2,
        pauseOnHover: false,    // added
    },
}).mount(window.splide.Extensions)
We believe auto-scrolling will no longer pause even when hovering.
⑥Change the number of shown slides
Infinite autoplay sliders often have designs where multiple slides are displayed at once.
If you want to change the number of shown slides, you can use the perPage option.
new Splide('.sample-slider', {
    type : 'loop',
    arrows: false,
    pagination: false,
    perPage: 3,     // added
    autoScroll: {
        speed: 2,
        pauseOnHover: false,
    },
}).mount(window.splide.Extensions)
⑦Reverse the auto-scrolling direction
By default, slides flow from right to left, but sometimes you might want them to go in the opposite direction.
To reverse the auto-scrolling direction, add direction: “rtl”.
new Splide('.sample-slider', {
    type : 'loop',
    arrows: false,
    pagination: false,
    perPage: 3,
    direction: "rtl",   // added
    autoScroll: {
        speed: 2,
        pauseOnHover: false,
    },
}).mount(window.splide.Extensions)
Auto-scrolling direction has been reversed.
The full text of source code
In the end, we put the full source code.
<script src="https://cdn.jsdelivr.net/npm/@splidejs/splide@4/dist/js/splide.min.js"></script>
<script src="https://cdn.jsdelivr.net/npm/@splidejs/splide-extension-auto-scroll@0.5.3/dist/js/splide-extension-auto-scroll.min.js"></script>
<link href="https://cdn.jsdelivr.net/npm/@splidejs/splide@4/dist/css/splide.min.css" rel="stylesheet">

<style>
    .sample-slider {
        width: 70%;
        margin: 0 auto;
    }
    .sample-slider img {
        width: 100%;
    }
</style>

<div class="splide sample-slider">
    <div class="splide__track">
          <ul class="splide__list">
              <li class="splide__slide"><img src="./img/sample1.png"></li>
              <li class="splide__slide"><img src="./img/sample2.png"></li>
              <li class="splide__slide"><img src="./img/sample3.png"></li>
              <li class="splide__slide"><img src="./img/sample4.png"></li>
          </ul>
    </div>
</div>

<script>
    new Splide('.sample-slider', {
        arrows: false,          // hide arrows
        pagination: false,      // hide pagination
        type : 'loop',          // enable looping
        perPage: 3,             // number of shown slides
        direction: "rtl",       // reverse auto-scrolling direction
        autoScroll: {
            speed: 2,           // auto-scrolling speed
            pauseOnHover: false,// prevent auto-scrolling from pausing on hover
        },
    }).mount(window.splide.Extensions)
</script>
That is all, it was about how to make infinite loop slider using Splide.js.


